
Tapbit operates under applicable international and local regulatory frameworks. The platform is licensed and registered with multiple financial authorities, including a US MSB License, NFA License, and a Saint Vincent and the Grenadines Financial License (SVGFSA). While we welcome users from numerous countries around the world, availability of services may vary based on your jurisdiction and verified residency. Certain features, cryptocurrencies, or products may be restricted depending on regional regulations. For full details regarding eligibility, permitted services, and limitations, please refer to our Terms of Service.
Tapbit Overview
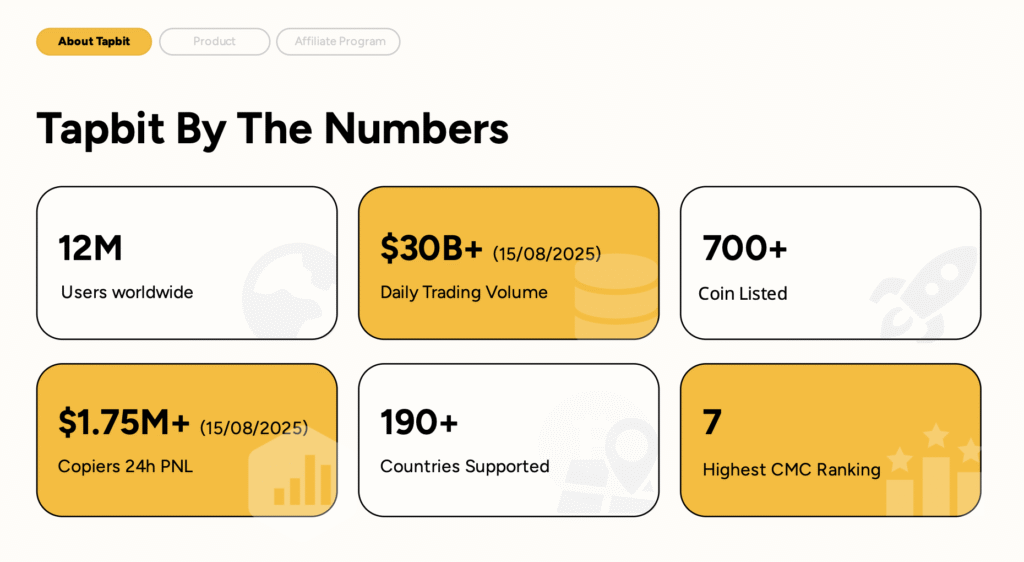
Founded in 2021, Tapbit serves a global community of over 12 million users across more than 190 countries, providing a comprehensive suite of cryptocurrency services including spot trading, derivatives, and earning products. With a daily trading volume surpassing $30 billion, Tapbit has established itself as one of the world’s leading centralized exchanges, offering a secure and user-friendly platform for traders and investors worldwide.
What Countries Does Tapbit Restrict?
Built with a dual focus on security and user-friendliness, Tapbit furnishes a reliable trading ecosystem tailored to investors of all experience levels. A key testament to its commitment to transparency and asset safety is the Proof of Reserves audit conducted by the Hacken team. This audit confirmed that Tapbit maintains a reserve ratio of over 100%, underscoring the platform’s dedication to upholding the highest standards of financial security and safeguarding users’ assets.
In strict compliance with international regulatory frameworks and internal compliance protocols, however, Tapbit imposes access restrictions on individual users and corporate entities based on their country of residence or operational location. As a result, its services remain unavailable in certain prohibited jurisdictions.
Fully Restricted Countries:
- Cuba
- China
- India
- France
- Bangladesh
- Japan
Additional Restrictions:
- Corporate entities from Antigua and Bermuda are not eligible for onboarding
- Non-professional investors from Hong Kong are not accepted
- Personal accounts of residents in Antigua and Barbuda are restricted
Partially Restricted Regions:
- Hong Kong (certain limitations may apply)
These restrictions are implemented in compliance with international regulations and Tapbit’s internal policy framework. Users are advised to consult Tapbit’s official Terms of Service for the most current and detailed information regarding eligibility and service availability.
Kyc Requirements
Tapbit does not require mandatory KYC for basic trading—users can begin with just an email, ensuring a fast and accessible entry into the market. However, completing full identity verification unlocks higher withdrawal limits and enhanced account features.
Conclusion
Based on the comprehensive overview, Tapbit establishes itself as a prominent and secure global cryptocurrency exchange, serving over 12 million users across more than 190 countries with a diverse range of services including spot trading, derivatives, and earning products.
While it offers extensive worldwide accessibility and emphasizes user convenience through features like non-mandatory KYC for basic trading, it strictly adheres to international regulatory standards, holding licenses from multiple jurisdictions including the US MSB and NFA, as well as the SVGFSA. The platform maintains clear restrictions on users from several countries and regions such as China, the United States, Canada, and others in compliance with local laws and sanctions.
Register here, and start your crypto journey with Tapbit.